
Business & event photography
Event Photography in Spain: What Clients Expect Before, During and After the Event
A practical guide to planning, shooting and delivering professional event photography
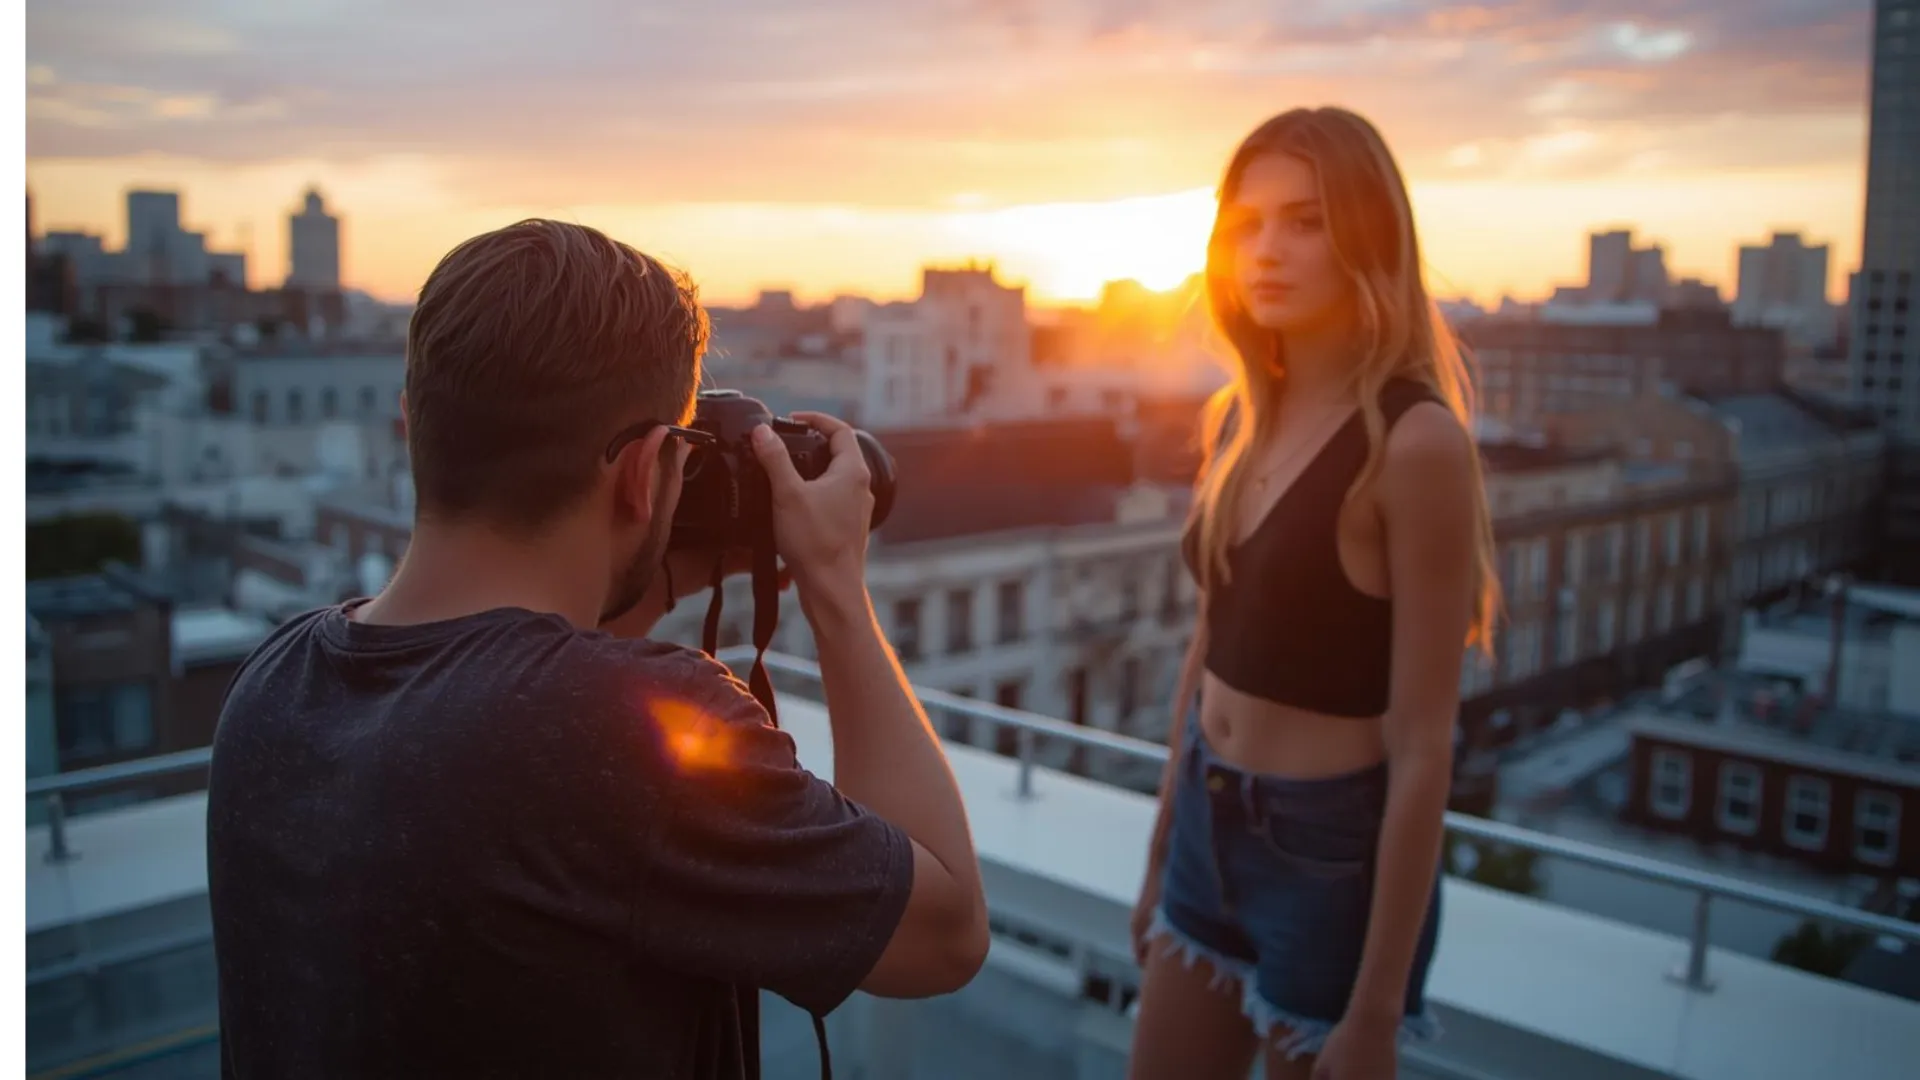
How to Create Portraits that “Connect”
Portrait photography isn’t just about having a good camera, it’s about shaping the light, simplifying the frame, and helping the person feel comfortable in front of the lens. If you want your portraits to look more professional (whether you’re using a phone or a camera), try these practical tips.
A portrait improves when the light is soft and has a clear direction. Here are the basics:
If you see hard shadows under the eyes and nose, move your subject one step closer to the light or use a reflector on the shadow side.
Many portraits look flat because the subject blends into the background. Two effective tricks:
A portrait can be well lit, but if the eyes aren’t sharp, it falls apart. Prioritize:
If you don’t know where to start, use this quick rule: place the eyes near the upper third of the frame. It usually makes the image feel natural and balanced in close-ups and mid-shots.
Also, leave space in the direction the person is looking. That “breathing room” adds story and prevents tight framing without intention.
Poses don’t need to feel forced, small indications are enough, for example:
Two “small” improvements with a big impact:
At FotoNEX, we believe a great portrait comes from the mix of technique and trust. If you want more consistent results, strengthen your profile on the platform – show your style in your portfolio and highlight your portrait experience so clients can find you and book with you.
Explore our latest articles
A practical guide to planning, shooting and delivering professional event photography

Why photographers in Spain need to combine personal recommendations with online visibility and a professional booking process
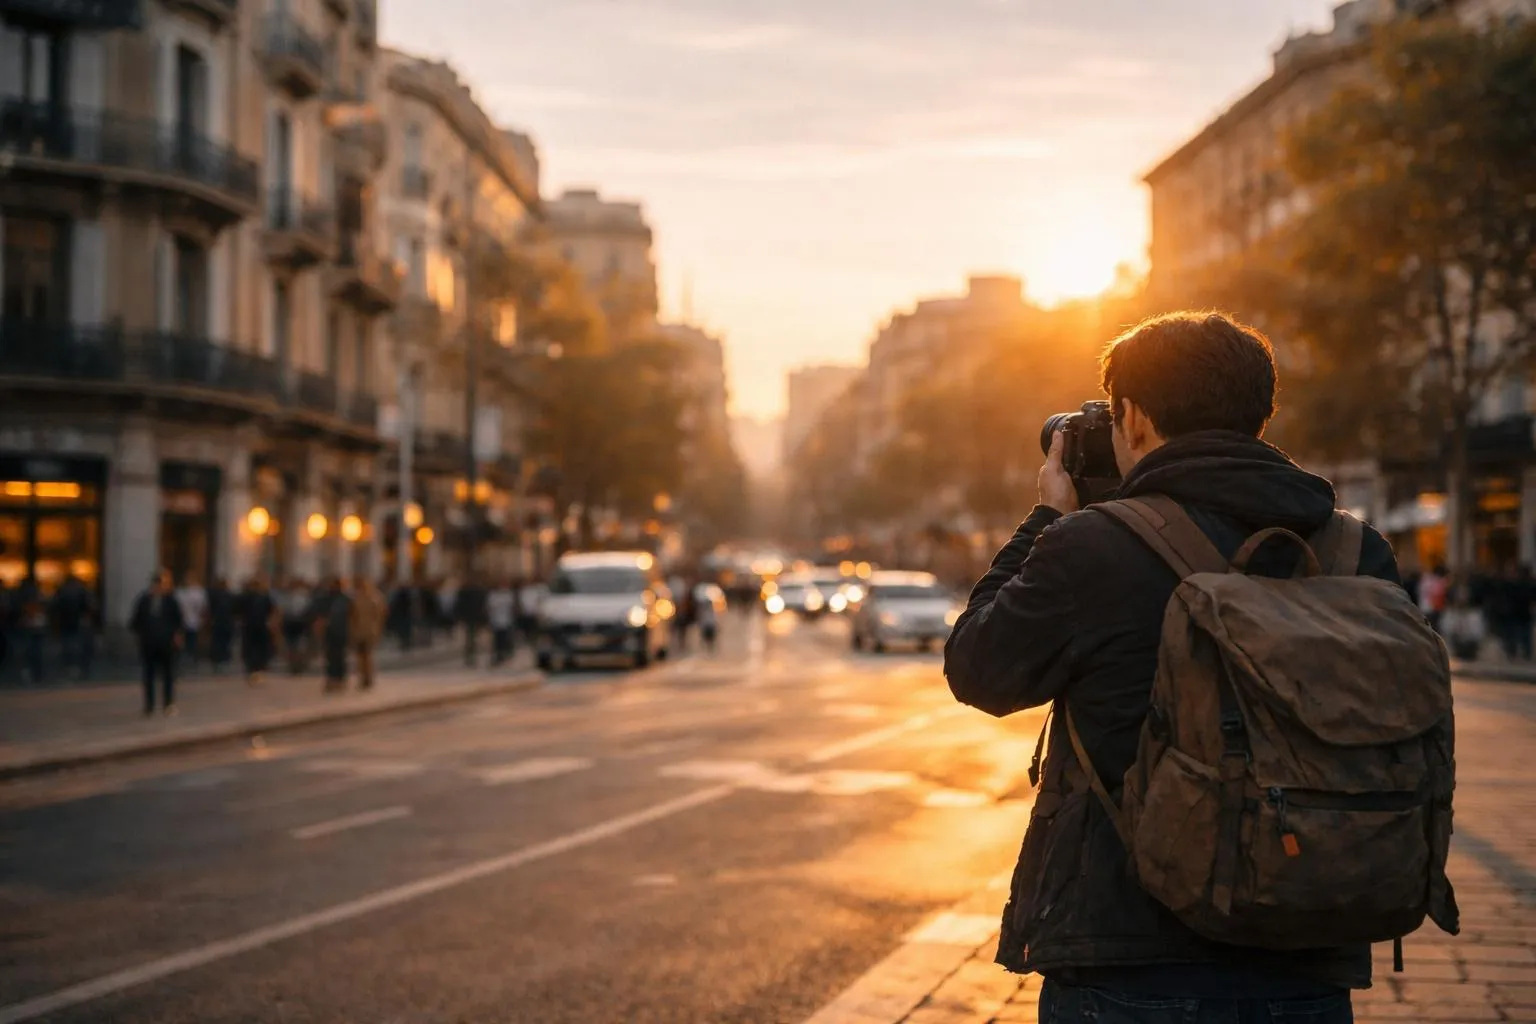
Make Your Urban Photos Level Up