
Business & event photography
Event Photography in Spain: What Clients Expect Before, During and After the Event
A practical guide to planning, shooting and delivering professional event photography
Make Your Urban Photos Level Up
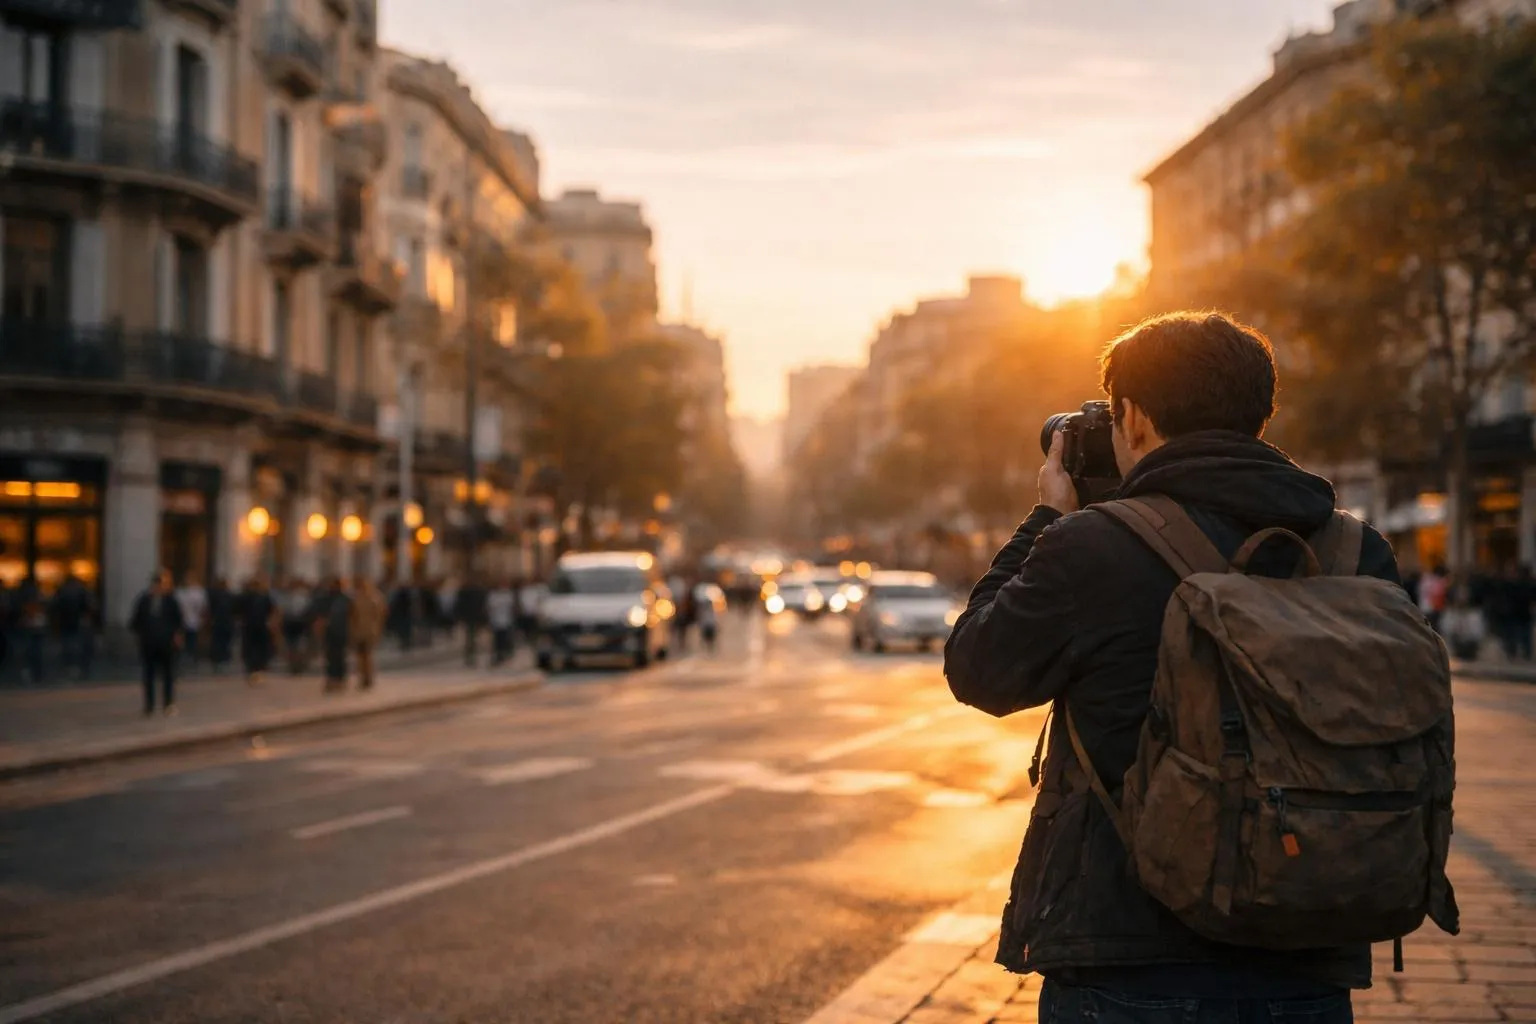
In this image you can see the kind of scene that most helps an urban photo stand out: pleasing light, a street with depth, and a clear point of view. But what makes an urban photo truly strong isn’t luck – it’s method. It’s about choosing a location that works even before anyone enters the frame, simplifying the composition, building visual layers, and being patient enough to wait for the right moment. Below are some practical tips you can use on every photo walk to improve your urban photography consistently.
Before looking for a subject, find a corner, street, or façade where the photo would already be good even if no one passes by.
A 10-second checklist:
Practical tip: stay in one place for 5–10 minutes. The street changes by itself. If you move every 20 seconds, you almost never get to truly “see” the moment.
The strongest urban photos usually have one dominant idea – a main subject and “something” around it that supports it. Here are the subjects that work almost always:
Simple rule: if you can’t describe the photo in one sentence, for example, “person crossing with a long shadow”, the photo usually feels weak because there isn’t a clear focus.
This is where you truly level up. Before you shoot, check if there are elements “coming out” of the subject’s “head” (poles, signs, branches), big text behind that will steal attention, or very bright spots that distract (blown-out windows, strong lights). The good news is that you can often fix it with three small moves:
Pro tip: if the background looks bad, editing rarely saves it. You fix it with your position.
Once your frame is clean, add depth by creating layers. Urban photos that look more “pro” usually have three planes:
How to add depth in 30 seconds:
Quick check: if you review the photo and it looks flat, you probably missed a foreground element or strong separation.
Instead of shooting everything that moves, work like this:
Shoot when one of these three things happens:
Practical tip: shoot a little earlier than the moment you imagine. The “moment” usually arrives sooner than you think.
Four common mistakes (and quick fixes)
20-minute mini routine (to really train)
If you repeat this exercise three times a week, your eye improves quickly and the quality of your urban photos goes up before you even notice it.
Explore our latest articles
A practical guide to planning, shooting and delivering professional event photography

Why photographers in Spain need to combine personal recommendations with online visibility and a professional booking process
.webp)
A Step-By-Step Guide for Photographers